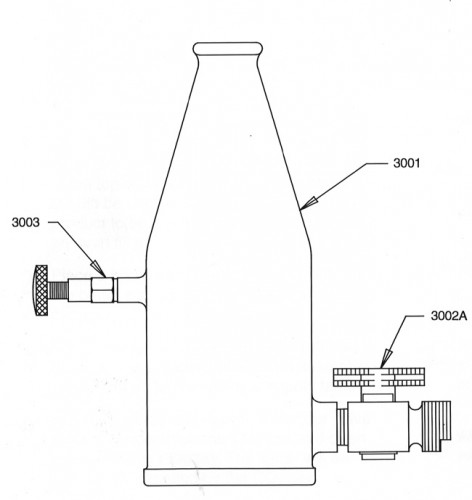
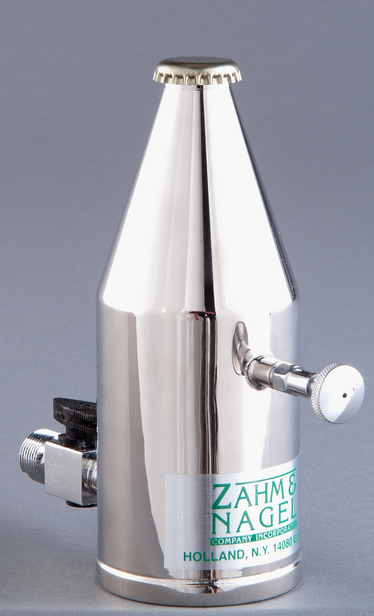
The Sample Bottle was designed to make possible the taking of a sample of carbonated beverage from a tank without the introduction of extraneous air or loss of gas. The line drawing shows the construction of the bottle as well as the accessories that should be used with it.
OPERATION:
1.Close the inlet valve (3002a) and bleeder valve (3003) on the bottle and fill with water to the top of the bottle. The bottle and liquid should be cooled to the temperature of the product to be tested. This will help produce an even fill from the tank.
2.Place a bottle cap (beer crown closure) on the bottle and crimp in place with a bottle capper.
3.Attach the bottle at the inlet valve (3002a) to the CO² Gas Header (4000). The assembly is now attached to the CO² gas supply tank.
4.Invert the bottle and open the bleeder valve (3003). Now turn on the CO² gas and open the inlet valve (3002a). The water will be completely expelled by the CO² gas.
5.Close the bleeder valve (3003) and establish a counter-pressure of 30 psi in the bottle.
6.Close the inlet valve (3002a) and remove the bottle from the gas supply and Gas Header (4000)
7.Submerge the bottle under water and observe for gas leaks.
8.Attach the clamping device (2037) to the inlet valve of the Sample Bottle. Make sure that the neoprene gasket (2038) is properly seated in the swivel nut (2039) of the Clamping Device before attaching the Clamping Device to the Sample Bottle.
9.Attach the Sample Bottle/Clamping Device unit to the trycock of the tank being tested. To do this rotate the U-bolt nut (2045) on the Clamping Device to open the U-bolt to its most outword position. Place the U-bolt of the clamping Device over the boss of the trycock on the test tank.
10.Close the U-bolt tightly against the trycock by turning the U-bolt nut in the proper direction.
11.Open the trycock and the inlet valve, allowing the excess gas to blow back into the tank and purge the trycock line.
12.Slightly open the bleeder valve so as to allow the gradual release of gas and the quiet filling of the sample bottle with the product.
13.Allow the bottle to overflow and close both inlet and bleeder valves in this order.
14.Remove the Sample Bottle from the trycock.
The Sample Bottle is now ready for CO² and air testing and should be inserted in the Zahm New Style Air Tester w/ Dial Thermometer (Series 7000) for these tests. General practice is to remove 20cc of liquid by inverting the Sample Bottle and opening the bleeder valve. If very accurate tests are desired, correction should be made for the volume of the sample removed. For further instructions on air and CO² testing refer to the Operating Instructions of the Zahm Series 7000 Piercing Device.
Parts